Welcome to your ultimate guide on how to cook rice perfectly every time. This Rice Cooking Sequence offers a Step by Step Visual Guide. It makes cooking rice easy, whether you’re new or experienced. By following this guide, your rice will be fluffy and delicious.
This visual guide simplifies complex recipes. It helps you master different cooking methods with confidence.
Get ready to learn about the essential ingredients and tools for better rice cooking. Knowing these is key to getting great results every time. Let’s start this culinary adventure!
Understanding Ingredients and Tools for Rice Cooking
To cook rice well, knowing the key ingredients and tools is key. Learning these basics helps you cook rice perfectly. This knowledge leads to tasty results and boosts your cooking confidence.
Essential Ingredients for Perfect Rice
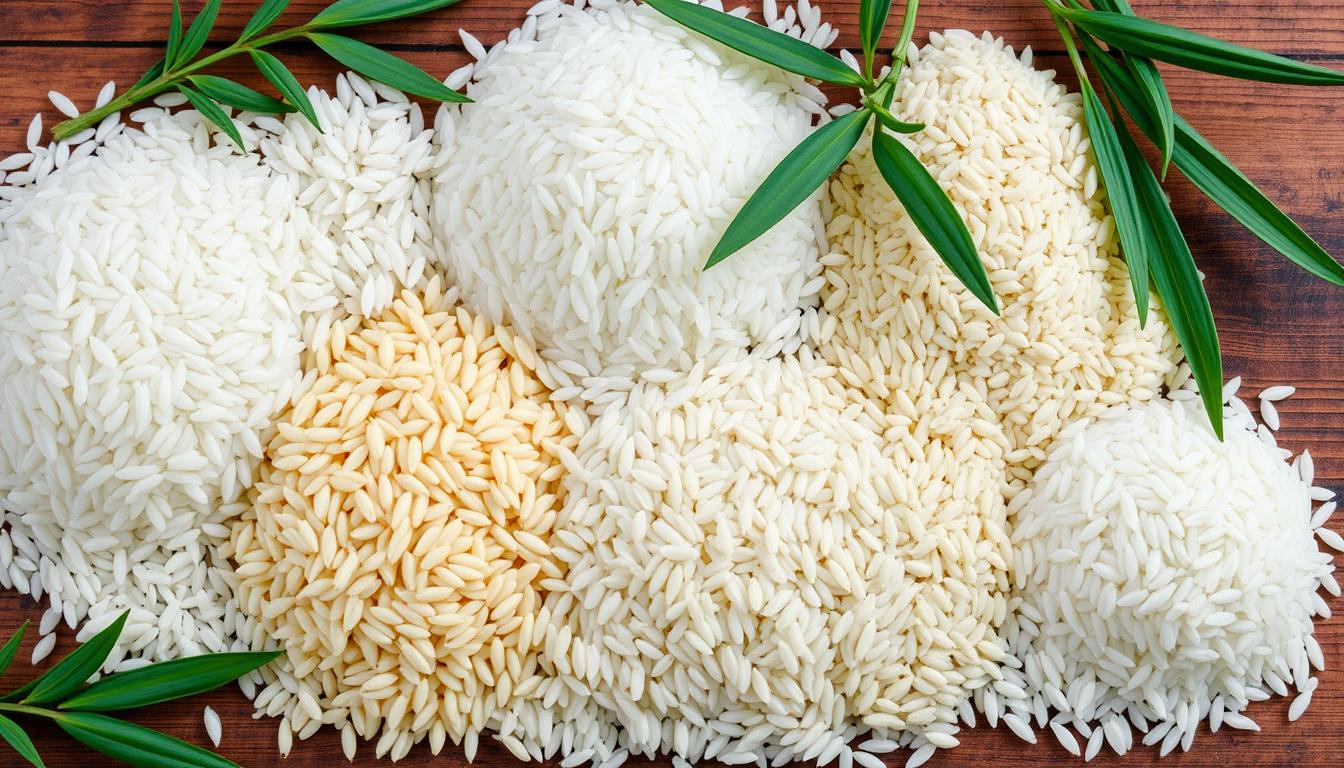
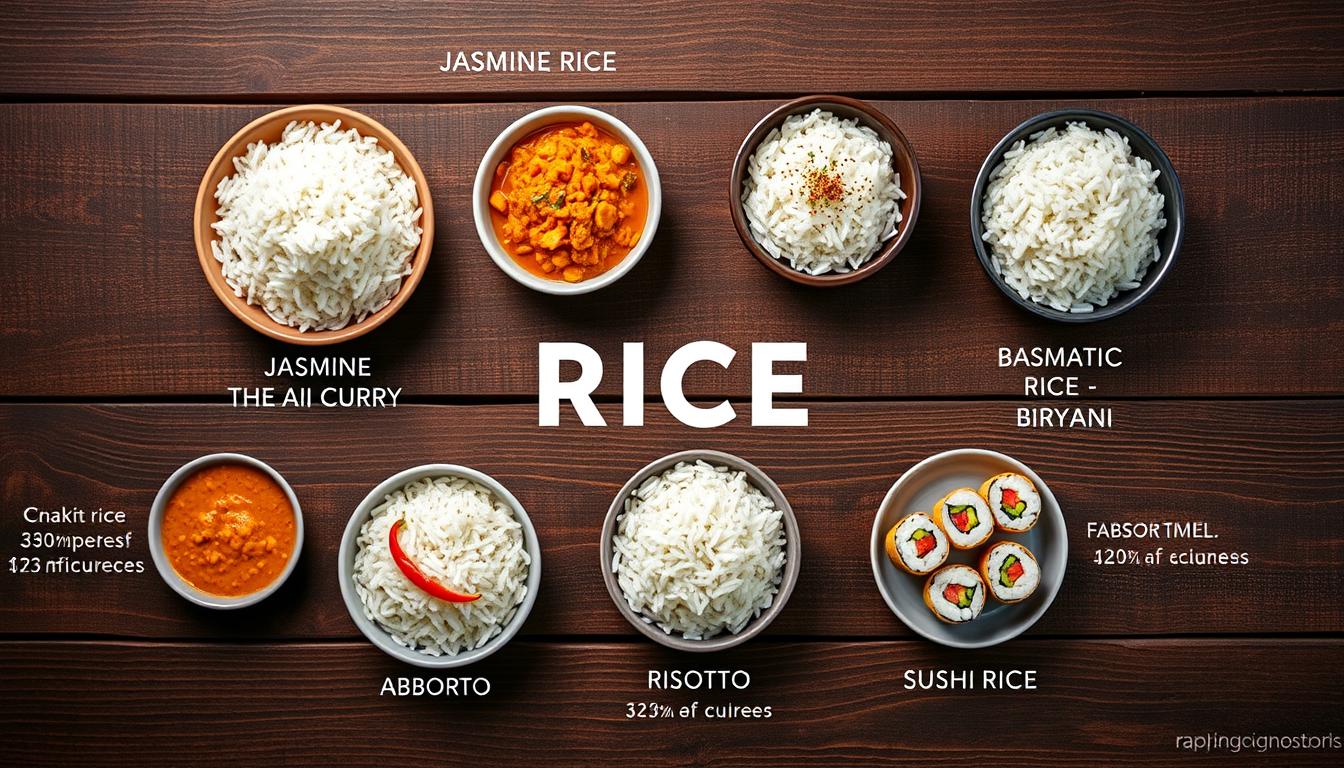
The main ingredient for rice is, of course, rice itself. Short and medium-grain white rice are great for beginners. Water is also vital, as it changes the rice’s texture. Here’s a quick look at some common rice types:
| Type of Rice | Description | Water Ratio |
|---|---|---|
| Long Grain White Rice | Fluffy texture, remains separate when cooked | 1:1.25 |
| Medium Grain White Rice | Tender and moist, slightly stickier than long grain | 1:1.5 |
| Brown Rice | Higher fiber content, nuttier flavor | 1:2 |
| Sushi Rice | Short, sticky grains ideal for sushi | Varies by recipe |
Tools You Will Need
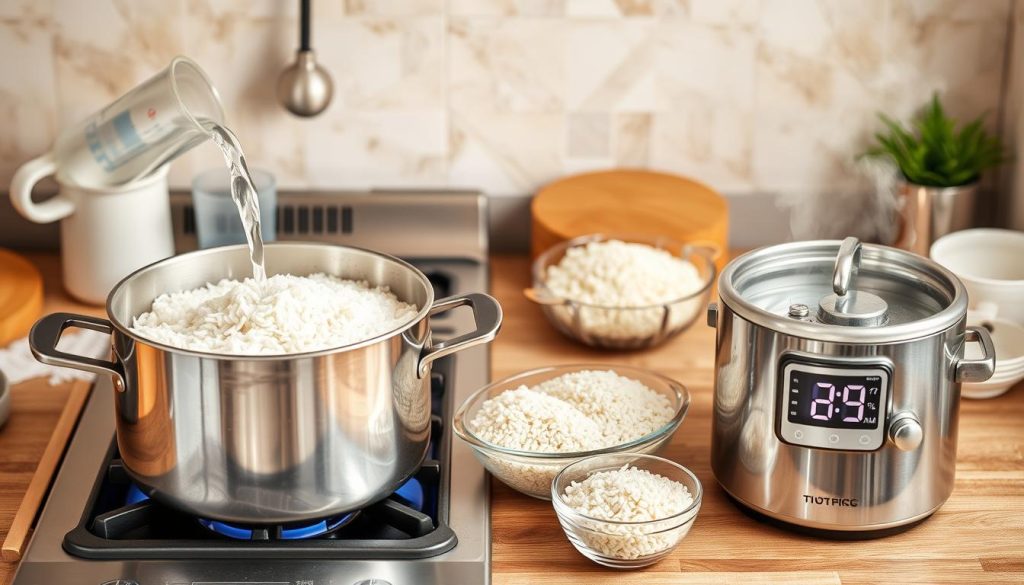
Several tools are needed for effective rice cooking. A good pot with a tight lid is key for keeping steam in. A measuring cup helps measure water accurately, following the right ratios. A rice cooker is also useful, making sushi rice easy to cook. Other tools include:
- Colander for rinsing rice
- Wooden spoon for fluffing rice
- Digital scale for consistent measurements
Rice Cooking Sequence: Step by Step Visual Guide
Cooking rice can seem hard, but with a good rice cooking tutorial, it’s easy. This part shows each step clearly, making it simple to follow. It’s key to measure rice and water right for the best taste and texture.
Learning to measure water by the knuckle is a great trick. It helps cooks of all levels get it right.
Visual Breakdown of the Cooking Steps
- Begin by measuring out the rice you need. For 3-4 people, use 2.5 to 3 cups.
- Then, wash the rice well. Rinse it three times until the water is clear to remove starch.
- Soaking the rice for 30 minutes is a good idea. It makes cooking faster and the rice better.
- Follow the “10-5-5 Rule” for cooking. Boil the water for 10 minutes, then lower the heat for 5 minutes. Let it sit covered for another 5 minutes.
- Steaming the rice for 15-20 minutes after cooking makes it even better.
Measuring Rice and Water Accurately
Getting the rice and water measurements right is key for great results. Here’s how to do it:
| Rice Type | Water Quantity (Cups) | Cooked Rice Yield |
|---|---|---|
| White Rice | 1.5 cups | 3 cups |
| Basmati Rice | 1.5 cups | 3 cups |
| Brown Rice | 2 cups | 4 cups |
Using the right ratios helps avoid mushy or undercooked rice. Each cup of uncooked rice becomes about two cups when cooked. Whether you use a step by step visual guide or detailed cooking rice instructions, the secret is to be consistent with your measurements.
The Importance of Rinsing Rice
Rinsing rice is a key step that many overlook. It greatly affects the taste and texture of your rice dishes. By rinsing rice properly, you improve its quality and flavor. This step is essential before cooking.
How to Properly Rinse Rice
To rinse rice right, start by measuring the amount you need. Put it in a bowl or sieve and rinse under cold water. Move the rice around with your hand until the water gets cloudy.
This means there’s extra starch. Drain the water and rinse again until the water is clear. Doing this three times is key to getting the best rice.
Benefits of Rinsing Rice Before Cooking
Rinsing rice before cooking has many benefits. It removes excess starch, preventing the rice from becoming sticky. This makes the rice fluffier and more enjoyable to eat.
It also helps the rice cook better. The rice absorbs water evenly, leading to perfectly cooked grains. Making rinsing rice a part of your routine can greatly improve your cooking.
Cooking Rice on the Stovetop
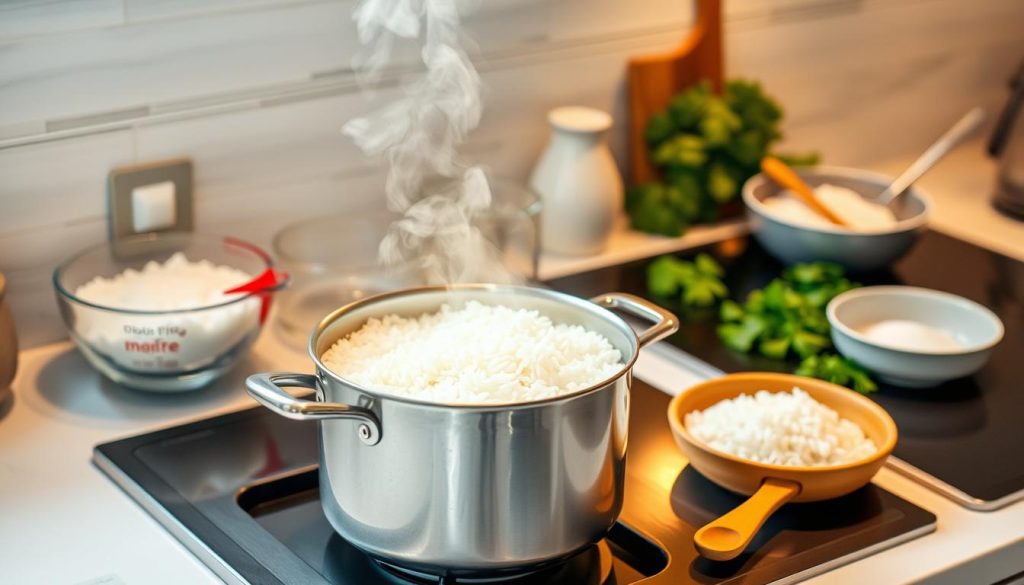
Cooking rice on the stovetop is a reliable way to get perfect grains. The 10-5-5 method is a structured approach. It involves boiling for 10 minutes, simmering for 5, and resting for 5 minutes off the heat. This method ensures even cooking, avoiding burnt or mushy rice.
The 10-5-5 Cooking Method Explained
The 10-5-5 method is simple yet effective. Start by boiling water with your rice, keeping it boiling for 10 minutes. Then, lower the heat for a gentle simmer for 5 minutes. After simmering, remove the pot from the heat and cover it. Let it rest for 5 more minutes. This step is key as it helps distribute moisture evenly, improving the rice’s texture.
Common Mistakes to Avoid While Cooking Rice
Even with the best methods, some mistakes can ruin your rice. Here are common mistakes to avoid:
- Lifting the lid too often: Each time you lift the lid, steam escapes, interrupting the cooking process.
- Incorrect water-to-rice ratios: Make sure to use the right ratio for your rice type to avoid undercooked or mushy rice.
- Cooking on too high heat: High heat can burn the rice at the bottom while leaving it undercooked on the top.
- Not rinsing the rice: Rinsing removes excess starch, which helps prevent clumping and stickiness.
- Skipping the resting phase: Not allowing the rice to rest can result in uneven texture and flavor.
| Rice Type | Water Ratio | Cooking Time |
|---|---|---|
| White Rice | 1 cup rice to 1.5 cups water | 13 minutes |
| Brown Rice | 1 cup rice to 1.75 cups water | 15-17 minutes |
| Super Basmati Sela Rice | 1 cup rice to 1.5 cups water | 15-22 minutes |
Using Rice Cookers for Convenience
Using a rice cooker makes cooking easier and more consistent. It’s key to know how to use a rice cooker to get perfect rice every time. This guide will show you how to use a rice cooker well and why it’s better than cooking on the stovetop.
How to Use a Rice Cooker Effectively
Using a rice cooker is easy. Just follow these steps to get the most out of your rice cooker:
- Measure the right amount of rice and rinse it to remove extra starch.
- Put the rinsed rice in the rice cooker pot.
- Use the right water-to-rice ratio, usually 1:1 for white rice.
- Close the lid and pick the cooking setting if it has one.
- Let the rice cooker do its thing. It will switch to warm mode after cooking.
- Wait about 10 minutes before serving for the best texture.
Comparing Rice Cookers and Stovetop Cooking
Stovetop cooking and rice cookers are different. Stovetop cooking needs constant attention and timing. Rice cookers, on the other hand, have automatic settings that make cooking easy:
| Feature | Stovetop Cooking | Rice Cooker |
|---|---|---|
| Cooking Time | Needs constant watching | Easy, hands-off cooking |
| Ease of Use | More complicated | Simple and easy to use |
| Consistency | Can vary | Always perfect rice |
| Versatility | Limited to rice | Can cook grains, steam veggies, etc. |
Rice cookers save time and effort compared to traditional cooking. They take away the stress of always stirring and checking if it’s done. They’re a reliable way to cook different types of rice.
Tips and Tricks for Perfect Rice
Mastering rice cooking techniques can elevate your experience. By using effective tips, you can get the perfect texture and taste. Whether you use traditional methods or a rice cooker, these insights will improve your cooking skills.
Common Rice Cooking Tips
Rinse your rice three times until the water is clear. This step removes excess starch, making the rice lighter and fluffier. Soaking the rice for at least 30 minutes also boosts cooking efficiency.
If you’re using an Instant Pot, cook white rice for 3 minutes at high pressure. Then, let it naturally release for 10 minutes.
- Use a rice-to-water ratio of 1 cup of rinsed long grain white rice to 1 1/4 cups of water.
- Consider adding 1/2 teaspoon of salt to enhance flavor.
- When cooking above 5,000 feet, add an extra minute to the cooking time.
- Rest cooked rice for a few minutes off heat to allow flavors to develop.
- Leftover rice can be stored in the refrigerator for 4-7 days, making it ideal for meal prep.
Adjusting Flavor and Texture to Your Preference
Adjusting rice flavors is key to creating a dish you’ll love. Add spices, herbs, or aromatics during cooking for a better taste. Day-old rice, with its firmer texture, is perfect for fried rice.
| Variable | Standard Practice | Notes |
|---|---|---|
| Rinsing | 3 times until water is clear | Affects texture and prevents stickiness |
| Soaking | 30 mins to 1 day | Improves cooking time and texture |
| Flavoring | Add spices/herbs during cooking | Creates a versatile base for various dishes |
| Storage | 4-7 days in fridge | Good for meal prep and future recipes |
Storing and Reheating Leftover Rice
Handling cooked rice right is key to keeping it fresh and safe. Storing it properly can prevent bacteria growth and keep its texture good. Knowing how to store and reheat rice can make your meals better.
Best Practices for Storing Cooked Rice
Don’t leave cooked rice out for too long. Cool it down fast and put it in airtight containers. This stops moisture loss and bacterial growth. Here are some tips for safe rice storage:
- Refrigerate cooked rice within two hours of cooking.
- Store in airtight containers to keep the rice moist and fresh.
- Maintain refrigerator temperatures below 40 degrees Fahrenheit.
- Consume stored rice within four days for optimal safety.
- For longer storage, freeze leftover rice for up to two months to reduce food waste.
Reheating Rice Without Losing Quality
Reheating rice right is important to avoid a dry or rubbery texture. Here are some tips:
- Add 1 to 2 tablespoons of water or broth per cup of rice before reheating.
- Cover the container to retain moisture during reheating.
- Microwave or steam leftover rice for even heating.
- For frozen rice, thaw overnight in the refrigerator for the best texture.
Signs that Leftover Rice Should Be Discarded
It’s important to check leftover rice for freshness. If it smells sour or rancid, has a slimy texture, or shows visible mold, it’s not safe to eat.
Cleaning containers with mold needs disinfecting with a bleach-water solution. Following these guidelines helps you enjoy tasty rice dishes safely. Proper storage and reheating ensure every meal is fresh and safe.
Conclusion
You now know the key steps to cooking rice perfectly. Rinsing and measuring water are important. Each step helps make your rice just right.
Whether you cook on the stovetop or use a rice cooker, following the steps is essential. This ensures your rice turns out great every time.
Trying out different rice cooking methods can make your meals special. Think about the rice type, water ratio, and adding soy sauce or MSG for extra flavor. Cooking rice can be fun and easy.
This guide has prepared you to try new cooking ways and styles. With practice, you can make every rice dish your own. Enjoy your rice cooking adventures!
Source Links
- Wild Rice or Manoomin: Varieties and Differences, Purchasing and Cooking
- Classic Nigerian Jollof Rice Recipe on Food52
- How to Make White Rice in the Instant Pot
- How to Make Perfect Sushi Rice (in a pot or rice cooker)
- Learn the Filipino Trick for Measuring Water for Rice
- How to Cook Rice Without Rice Cooker – Chef Chris Cho
- How To Cook Basmati Rice (perfect, soft + fluffy!) – Fatima Cooks
- Jasmine White Rice 101: The Essential Recipe Guide
- How to Cook Perfect Japanese Rice on the Stove
- Japanese Cooking 101: The Fundamentals of Washoku
- Perfectly Cooked White Rice – Fountain Avenue Kitchen
- How to Cook Perfect Super Basmati Sela Rice
- 15-Min Instant Pot Basmati Rice
- Onigiri 101: How to Make Japanese Rice Balls
- Onigiri (Japanese Rice Balls) (Video) おにぎり
- How to Make Persian Rice in a Rice Cooker
- Here’s The Best Way To Store Cooked Rice (And How To Reheat It Later)
- How Long Does Rice Last in the Fridge? And Other Pressing Rice Questions, Answered
- Shrimp Fried Rice – How to Cook Like a Pro Chef in Your Home
- How to Cook Rice in a Rice Cooker: An Easy Guide
