So, your trusty rice cooker has decided to act up, huh? Don’t worry, we’ve got your back! A malfunctioning rice cooker can throw a wrench in our meal prep routine, but fear not, as we’re here to guide you through the ins and outs of fixing it. Whether it’s refusing to turn on, not cooking the rice properly, or any other issue, we’ll help you troubleshoot and get your rice cooker back in action in no time.
From checking the power source to inspecting the inner components, repairing a broken rice cooker might seem daunting, but with our step-by-step instructions, you’ll be a pro in no time. No need to stress about buying a new one just yet – let’s roll up our sleeves, grab our tools, and dive into the world of rice cooker repair together. Trust us, with a little know-how and some patience, you’ll have your favorite kitchen appliance up and running smoothly again before you know it.
Common Issues with Rice Cookers
When it comes to rice cookers, encountering issues is not uncommon. Let’s delve into some common problems you may face with your rice cooker and how to address them effectively.
For Beginners: Understanding Basic Problems
- Rice Cooker Not Turning On: Check the power source and ensure it’s properly plugged in.
- Rice Not Cooking Well: Verify the water-to-rice ratio and adjust as needed.
For Intermediate Users: Enhancing Your Repair Skills
- Faulty Inner Components: Assess the condition of the heating element and thermostat.
- Uneven Cooking: Clean the cooker thoroughly to ensure proper heat distribution.
- Strange Smells or Smoke: Inspect for any burnt food residue that could be causing the odor.
- Error Codes Displayed: Refer to the manual for specific error code explanations and solutions.
Remember, troubleshooting your rice cooker can be a simple task with the right guidance. By identifying these common issues and applying the appropriate solutions, you can ensure your rice cooker functions smoothly, providing you with perfectly cooked rice every time.
Tools Required for Repair

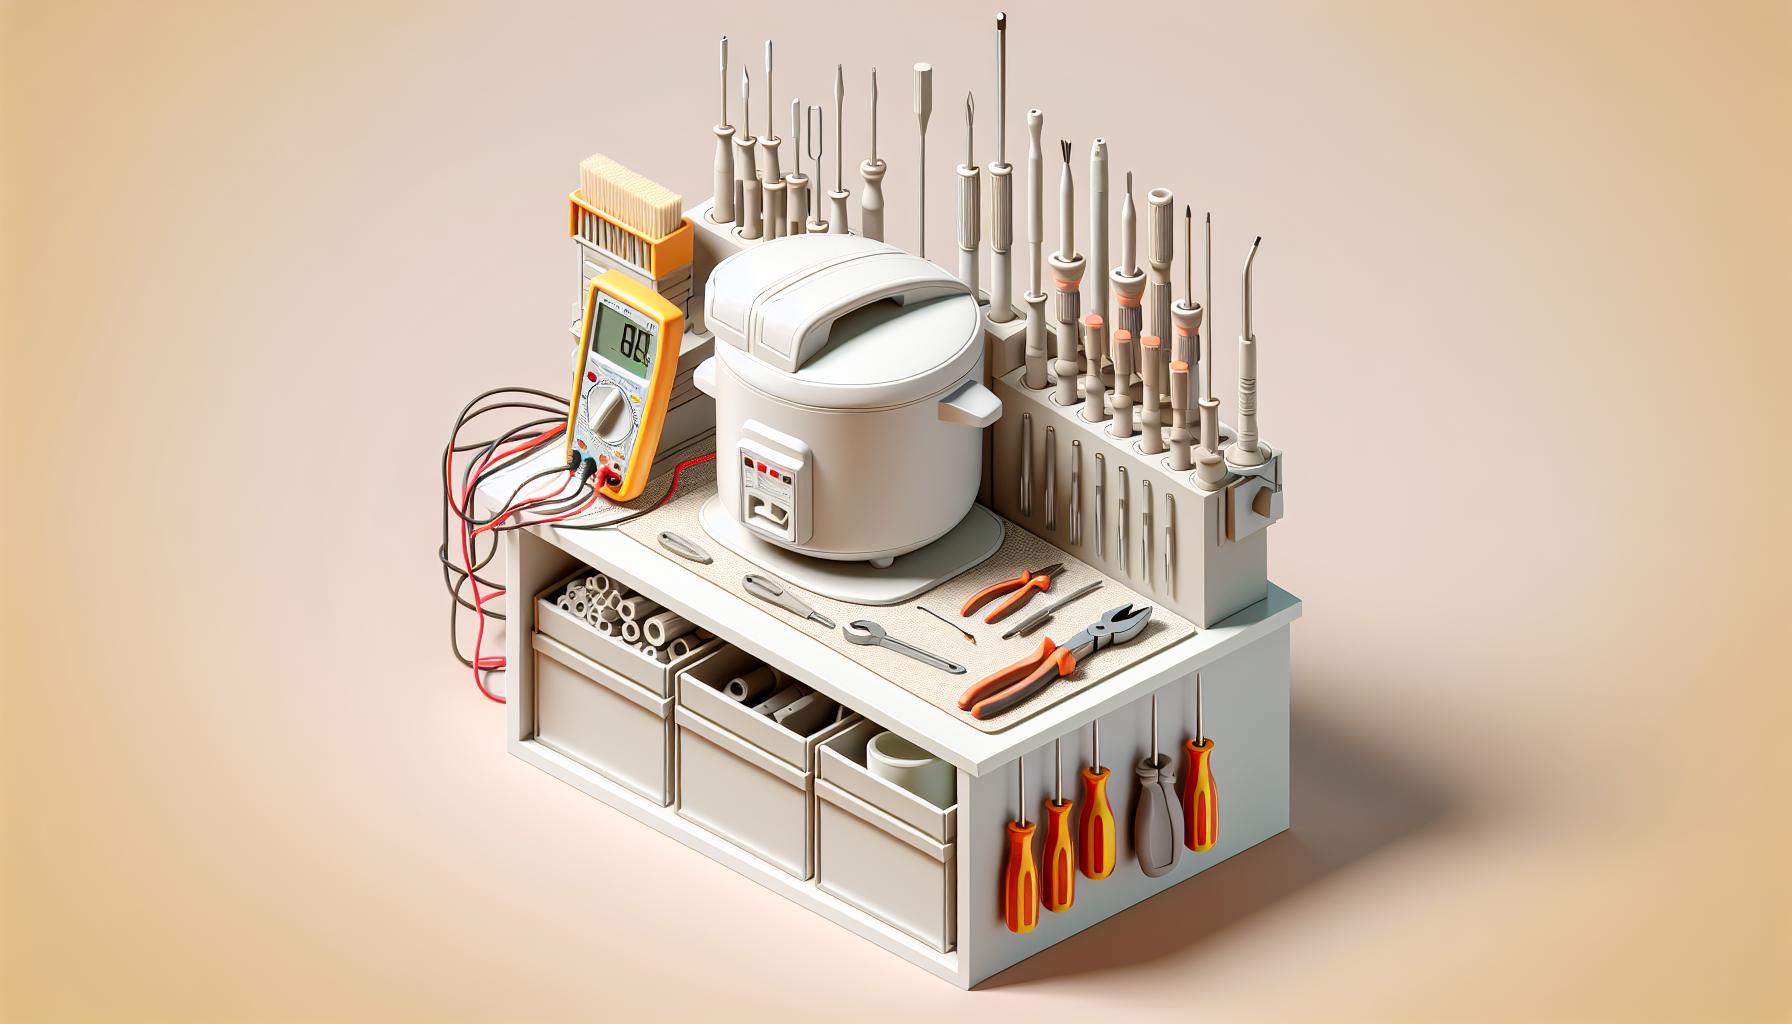
When it comes to repairing a rice cooker, having the right tools can make the process smoother and more efficient. Whether you’re a beginner or an expert, having a few essential tools at hand can help you tackle various issues that may arise with your rice cooker. Here are our recommendations based on different experience levels:
For Beginners: Essential Tools to Get Started
- Multimeter: Used to test electrical components like the heating element and thermostat.
- Screwdriver Set: Allows you to open the rice cooker casing to inspect internal components.
- Soft Cloth: For cleaning and wiping down various parts of the cooker.
- User Manual: Refer to the manual for specific instructions on common issues and troubleshooting steps.
For Intermediate Users: Tools to Dive Deeper
- Needle-nose Pliers: Useful for bending or adjusting small components inside the cooker.
- Replacement Parts: Keep spare parts like fuses, heating elements, or thermostats handy for quick fixes.
- Cleaning Brush: Helps in removing stubborn food residue or debris from hard-to-reach areas.
- Soldering Iron: For repairing electrical connections and components within the cooker.
- Oscilloscope: A diagnostic tool for analyzing electrical signals within the rice cooker.
- Insulation Resistance Tester: Checks the insulation of wires and electrical components.
- Desoldering Pump: Essential for removing and replacing faulty electrical components.
- Heat Gun: Useful in soldering and desoldering components that require heat.
Step-by-Step Guide to Troubleshoot
For Beginners: Mastering the Basics
- Check the Power Supply: Ensure the rice cooker is plugged in and the power source is functioning.
- Inspect the Inner Pot: Make sure the inner pot is properly placed and not damaged.
- Review User Manual: Refer to the user manual for common troubleshooting steps and error codes.
- Reset the Rice Cooker: Try resetting the cooker to see if it resolves the issue.
- Contact Customer Support: Reach out to the manufacturer or customer support for guidance.
For Intermediate Users: Enhancing Your Skills
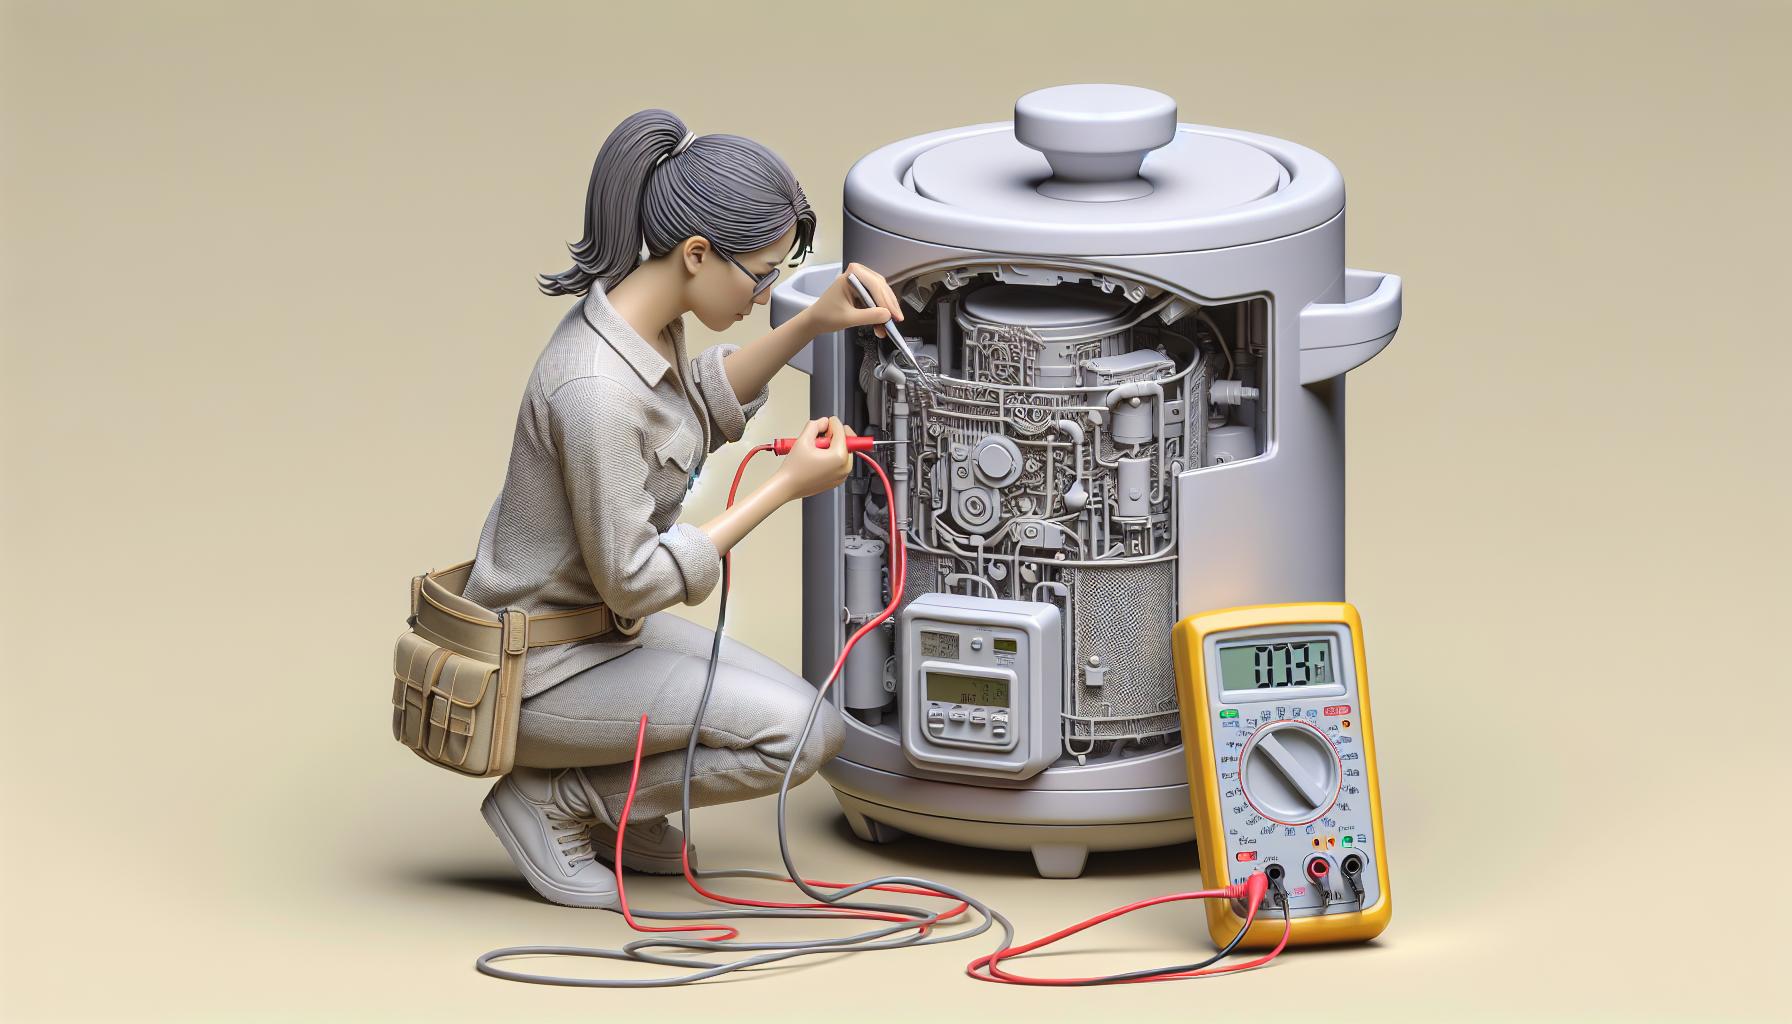
- Test the Heating Element: Use a multimeter to check if the heating element is working correctly.
- Clean the Sensor: Thoroughly clean the sensor to ensure it is detecting accurately.
- Replace Faulty Parts: Identify and replace any malfunctioning parts like fuses or thermostats.
- Inspect Wiring Connections: Check for loose or damaged wiring connections.
- Upgrade to Digital Models: Consider investing in digital rice cookers for more precise control.
- Use an Oscilloscope: Analyze waveforms to diagnose complex electrical issues.
- Soldering Iron Skills: Master soldering techniques for intricate repairs on circuit boards.
- Test Insulation Resistance: Verify insulation integrity using an insulation resistance tester.
- Applying Heat Gun: Utilize a heat gun for specific component repairs that require heat.
- Desoldering Expertise: Skillfully desolder and replace components for detailed repairs.
Testing the Power Source
When troubleshooting a broken rice cooker, one of the initial steps is to ensure the power source is functioning correctly. Here, we provide a breakdown of how to test the power source based on different experience levels:
For Beginners: Checking the Basics
- Begin by confirming that the rice cooker is plugged in properly.
- Switch the power outlet to see if the cooker turns on.
- Consider using a different outlet to rule out any issues with the current one.
For Intermediate Users: Digging Deeper
- Utilize a multimeter to measure the outlet voltage.
- Test the power cord for any visible signs of damage.
- Check for loose connections between the cord and the rice cooker.
- Examine the internal wiring of the rice cooker for any wear and tear.
- Test the continuity of the power cord with a multimeter for accurate readings.
- Evaluate the power supply unit for any malfunctions.
Remember, ensuring a proper power supply is crucial for the functionality of your rice cooker. By following these steps, you can effectively diagnose and address any power-related issues with your appliance.
Inspecting the Inner Components

When it comes to repairing a rice cooker, it’s crucial to inspect the inner components thoroughly. Whether you’re a beginner or an expert, understanding the internal workings can make a significant difference.
For Beginners: Getting Started Inside
- Unplug the rice cooker before proceeding.
- Remove the outer casing carefully to access the internal components.
- Visually inspect the wiring for any signs of damage like fraying or burns.
- Check the heating element and look for any visible issues.
For Intermediate Users: Delving Deeper
- Use a multimeter to test the continuity of the wiring and heating element.
- Check the thermal fuse for any faults or damage.
- Inspect the thermostat to ensure it’s functioning correctly.
- Clean any dust or debris that may be affecting the components.
- Replace faulty components like the heating element or thermostat if needed.
- Test the control board for any malfunctions with a multimeter.
- Verify the functionality of the rice cooker’s sensors.
- Consult the manufacturer’s manual for detailed schematics and troubleshooting tips.
By systematically inspecting the inner components of your rice cooker, you can pinpoint and address any issues effectively. Remember to always prioritize safety and precision when working with electrical appliances.
Conclusion
After exploring the intricate process of troubleshooting and repairing a rice cooker, we now grasp the essential steps required to address any issues that may arise. By delving into the inner workings of the appliance, we have gained valuable insights into the meticulous approach needed to ensure its optimal functionality. Our detailed guide equips both novices and seasoned users with the knowledge to navigate the complexities of a malfunctioning rice cooker. Remember, safety and precision are paramount when dealing with electrical appliances. Armed with this newfound understanding, we are well-prepared to tackle any challenges that come our way in maintaining and repairing our trusty rice cookers.


