So, we’re diving into the world of cooking dal in an Aroma rice cooker. If you’re a fan of quick, easy, and delicious meals, you’re in the right place. Dal, a staple in many households, is not only nutritious but also versatile in flavor. With our step-by-step guide, you’ll master the art of preparing this comforting dish effortlessly.
When it comes to using an Aroma rice cooker, the possibilities are endless. From perfectly fluffy rice to flavorful dals, this kitchen appliance is a game-changer. We’ll walk you through each stage of the cooking process, ensuring that your dal turns out just the way you like it – every single time.
Get ready to elevate your cooking skills and create a wholesome meal that’s bound to impress. With our expert tips and simple instructions, you’ll soon be savoring a steaming bowl of aromatic dal, cooked to perfection in your trusty Aroma rice cooker.
Choosing the Right Type of Dal
When it comes to cooking dal in your Aroma rice cooker, selecting the right type of dal is essential for achieving the perfect flavor and texture. Here’s a guide on choosing the ideal dal based on different preferences and dietary needs:
For Beginners: Exploring Common Types of Dal
- Yellow Dal: Perfect for beginners, this type of dal cooks quickly and has a mild flavor that pairs well with various spices.
- Red Lentils (Masoor Dal): Another great option for novices, red lentils are quick to cook and offer a slightly sweet taste.
- Split Pigeon Peas (Toor Dal): Easy to digest and versatile, toor dal is a popular choice for beginners looking to experiment with different dals.
For Intermediate Cooks: Diving into Richer Flavors
- Black Lentils (Urad Dal): Intermediate cooks can explore the nutty flavor of black lentils, often used in traditional Indian dishes like Dal Makhani.
- Chickpea Dal (Chana Dal): With a slightly nutty taste and grainy texture, chana dal is a great option for those looking to add more complexity to their dal dishes.
- Green Gram (Moong Dal): Moong dal offers a light and easily digestible option for intermediate cooks looking to incorporate more protein into their diet.
- Whole Urad Dal: Expert cooks can experiment with whole black lentils to elevate the richness and depth of flavor in their dal recipes.
- Masoor Dal (Whole): Whole red lentils provide a unique texture and flavor profile, perfect for expert cooks looking to enhance their culinary skills.
- Bengal Gram (Chana Dal): Explore the earthy flavor of Bengal gram for a hearty and nutritious addition to your dal recipes.
Whether you’re a beginner, intermediate cook, or an expert in the kitchen, choosing the right type of dal sets the foundation for a delicious and wholesome meal cooked to perfection in your Aroma rice cooker. Let’s get started on creating a flavorful bowl of dal that suits your taste preferences and cooking expertise.
Preparing the Dal for Cooking

When it comes to cooking dal in an Aroma rice cooker, the first step is crucial in ensuring a flavorful and satisfying dish. Here’s how to prepare the dal for cooking based on your level of expertise:
For Beginners: Mastering the Basics
- Rinse the Dal: Before cooking, rinse the dal under cold water to remove any dirt or debris.
- Soak the Dal: For beginners, soaking the dal for at least 30 minutes can help it cook faster and more evenly.
- Add Water: Use a 1:2 ratio of dal to water for softer consistency.
For Intermediate Cooks: Enhancing Your Dish
- Toast the Dal: Enhance the flavor by toasting the dal in a pan before adding it to the rice cooker.
- Experiment with Spices: Customize your dal by adding spices like cumin, turmeric, or coriander for extra taste.
- Use Broth: Substitute water with vegetable broth for a richer flavor.
- Pressure Cook the Dal: Utilize the pressure cooking function of the Aroma rice cooker for a quicker cooking time.
- Blend Ingredients: Create a smooth texture by blending the cooked dal with a hand blender.
- Temper the Dal: Temper your dal with mustard seeds, curry leaves, and red chilies for a traditional touch.
Remember, the key to a delicious dal dish lies in the preparation. Tailor your approach based on your cooking expertise level to elevate the flavors and textures of your dal cooked in the Aroma rice cooker.
Adding Spices and Seasonings
When it comes to enhancing the flavor of your dal in an Aroma rice cooker, spices and seasonings play a crucial role. Whether you’re a beginner, intermediate cook, or an expert, adding the right spices can elevate your dish to new heights. Here are some tailored tips based on your expertise level:
For Beginners: Mastering the Basics
- Start with simple spices like cumin, turmeric, and coriander.
- Adjust the quantity of spices slowly to avoid overwhelming flavors.
- Experiment with different combinations to find your preferred taste.
For Intermediate Cooks: Enhancing Your Dish
- Incorporate more complex spices such as garam masala, fenugreek, or asafoetida.
- Toast the spices before adding them to enhance their aroma.
- Balance the spices with tangy ingredients like tomatoes or yogurt.
- Customize your spice blend by grinding whole spices for a fresher flavor.
- Infuse oil with whole spices for a fragrant base before adding the dal.
- Explore regional spices like mustard seeds, curry leaves, or amchoor for a unique touch.
By following these tailored tips based on your expertise level, you can create dal dishes that are bursting with flavor and aroma in your Aroma rice cooker.
Setting Up the Aroma Rice Cooker
For Beginners: Getting Started with Your Aroma Rice Cooker
- Unbox Your Aroma Rice Cooker: When you first get your Aroma rice cooker, ensure you unpack all the components carefully.
- Wash the Inner Pot: Before using it for the first time, wash the inner pot with warm soapy water and rinse thoroughly.
- Assemble the Rice Cooker: Place the inner pot back into the cooker base and make sure it’s securely in place.
- Add Water: Add the recommended amount of water for the type and quantity of rice you’re preparing.
For Intermediate Cooks: Customizing Your Cooking Experience
- Experiment with Rice-to-Water Ratio: Adjust the water level based on your preference for softer or firmer rice.
- Try Different Rice Types: Explore various rice varieties like jasmine, basmati, or brown rice for diverse flavors.
- Add Aromatics: Enhance the aroma by adding ingredients like garlic, ginger, or lemongrass to the water.
- Utilize Preset Functions: Take advantage of preset functions like white rice, brown rice, or steam for convenience.
- Create Custom Programs: Program specific cooking times and temperatures to suit your recipes.
- Infuse Flavors: Experiment with broth, herbs, or spices in the water for a flavor-packed rice.
- Multi-Cooking Capabilities: Explore the versatility of your Aroma rice cooker by trying out recipes beyond rice.
- Maintenance Tips: Regularly clean and descale your Aroma rice cooker for optimal performance.
We have covered the essential steps from setting up your Aroma rice cooker as a beginner to enhancing the cooking experience for intermediates and experts alike. By following these guidelines, you can make the most of your Aroma rice cooker and enjoy delicious meals effortlessly.
Cooking the Dal in the Aroma Rice Cooker

For Beginners: Mastering the Basics
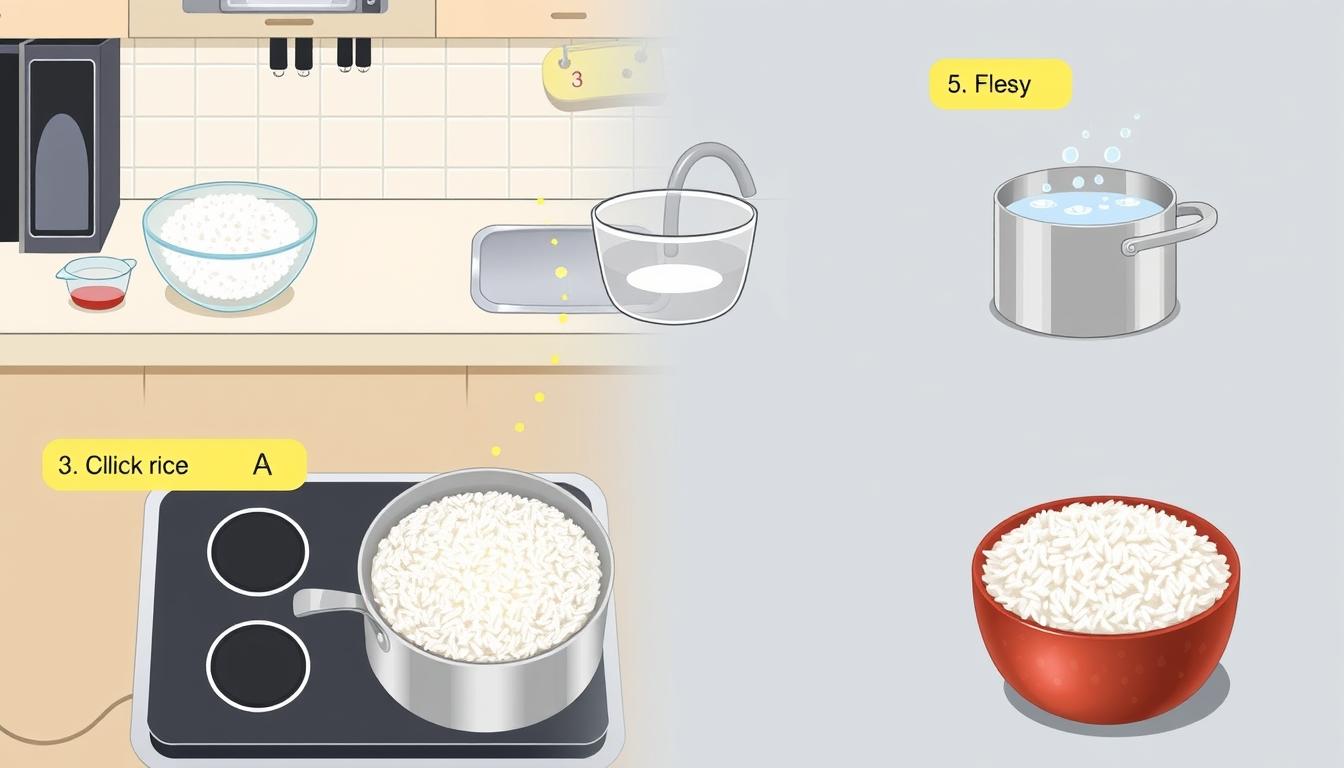
- Rinse 1 cup of dal under cold water.
- Add the dal to the rice cooker with 2 cups of water.
- Close the lid, set it to the “Rice” function, and let it cook.
- Allow natural release for tender dal – it usually takes about 20 minutes.
For Intermediate Cooks: Enhancing Your Dish
- Experiment with adding aromatics like garlic, ginger, or cumin.
- Try a ratio of 1:3 dal to water for a creamier consistency.
- Explore using broth instead of water for added flavor.
- Utilize the “Saute” function to temper spices before adding dal.
- Create a flavorful tadka by heating oil, adding whole spices, and pouring over the cooked dal.
- Incorporate coconut milk for a creamy twist.
- Mix different types of dal for a unique blend of textures and flavors.
- Use the “Delay Timer” feature to have freshly cooked dal ready when you need it.
| Metric | Measurement |
|---|---|
| Cooking Time | 20 minutes |
| Dal to Water Ratio | 1:2 (Beginner), 1:3 (Intermediate) |
| Creamy Dal Ratio | 1:3 |
| Expanding Dal Options | Mix different types |
| Flavor Enhancements | Tempering spices, Tadka |
Feel free to customize your dal based on your preferences.
Conclusion
We’ve covered the ins and outs of cooking dal in an Aroma rice cooker, offering a comprehensive guide for both beginners and more experienced cooks. From basic steps like rinsing dal and using the “Rice” function to advanced techniques such as experimenting with aromatics and adjusting ratios, we’ve shared tips to elevate your dish. By incorporating flavorful tadka, coconut milk, and different dal varieties, you can customize your dal to suit your taste preferences. With the option to utilize features like the “Saute” function and “Delay Timer,” the possibilities for creating delicious dal dishes are endless. Remember, cooking dal in an Aroma rice cooker is not just about following a recipe; it’s about exploring flavors and techniques to make each dish uniquely yours.


