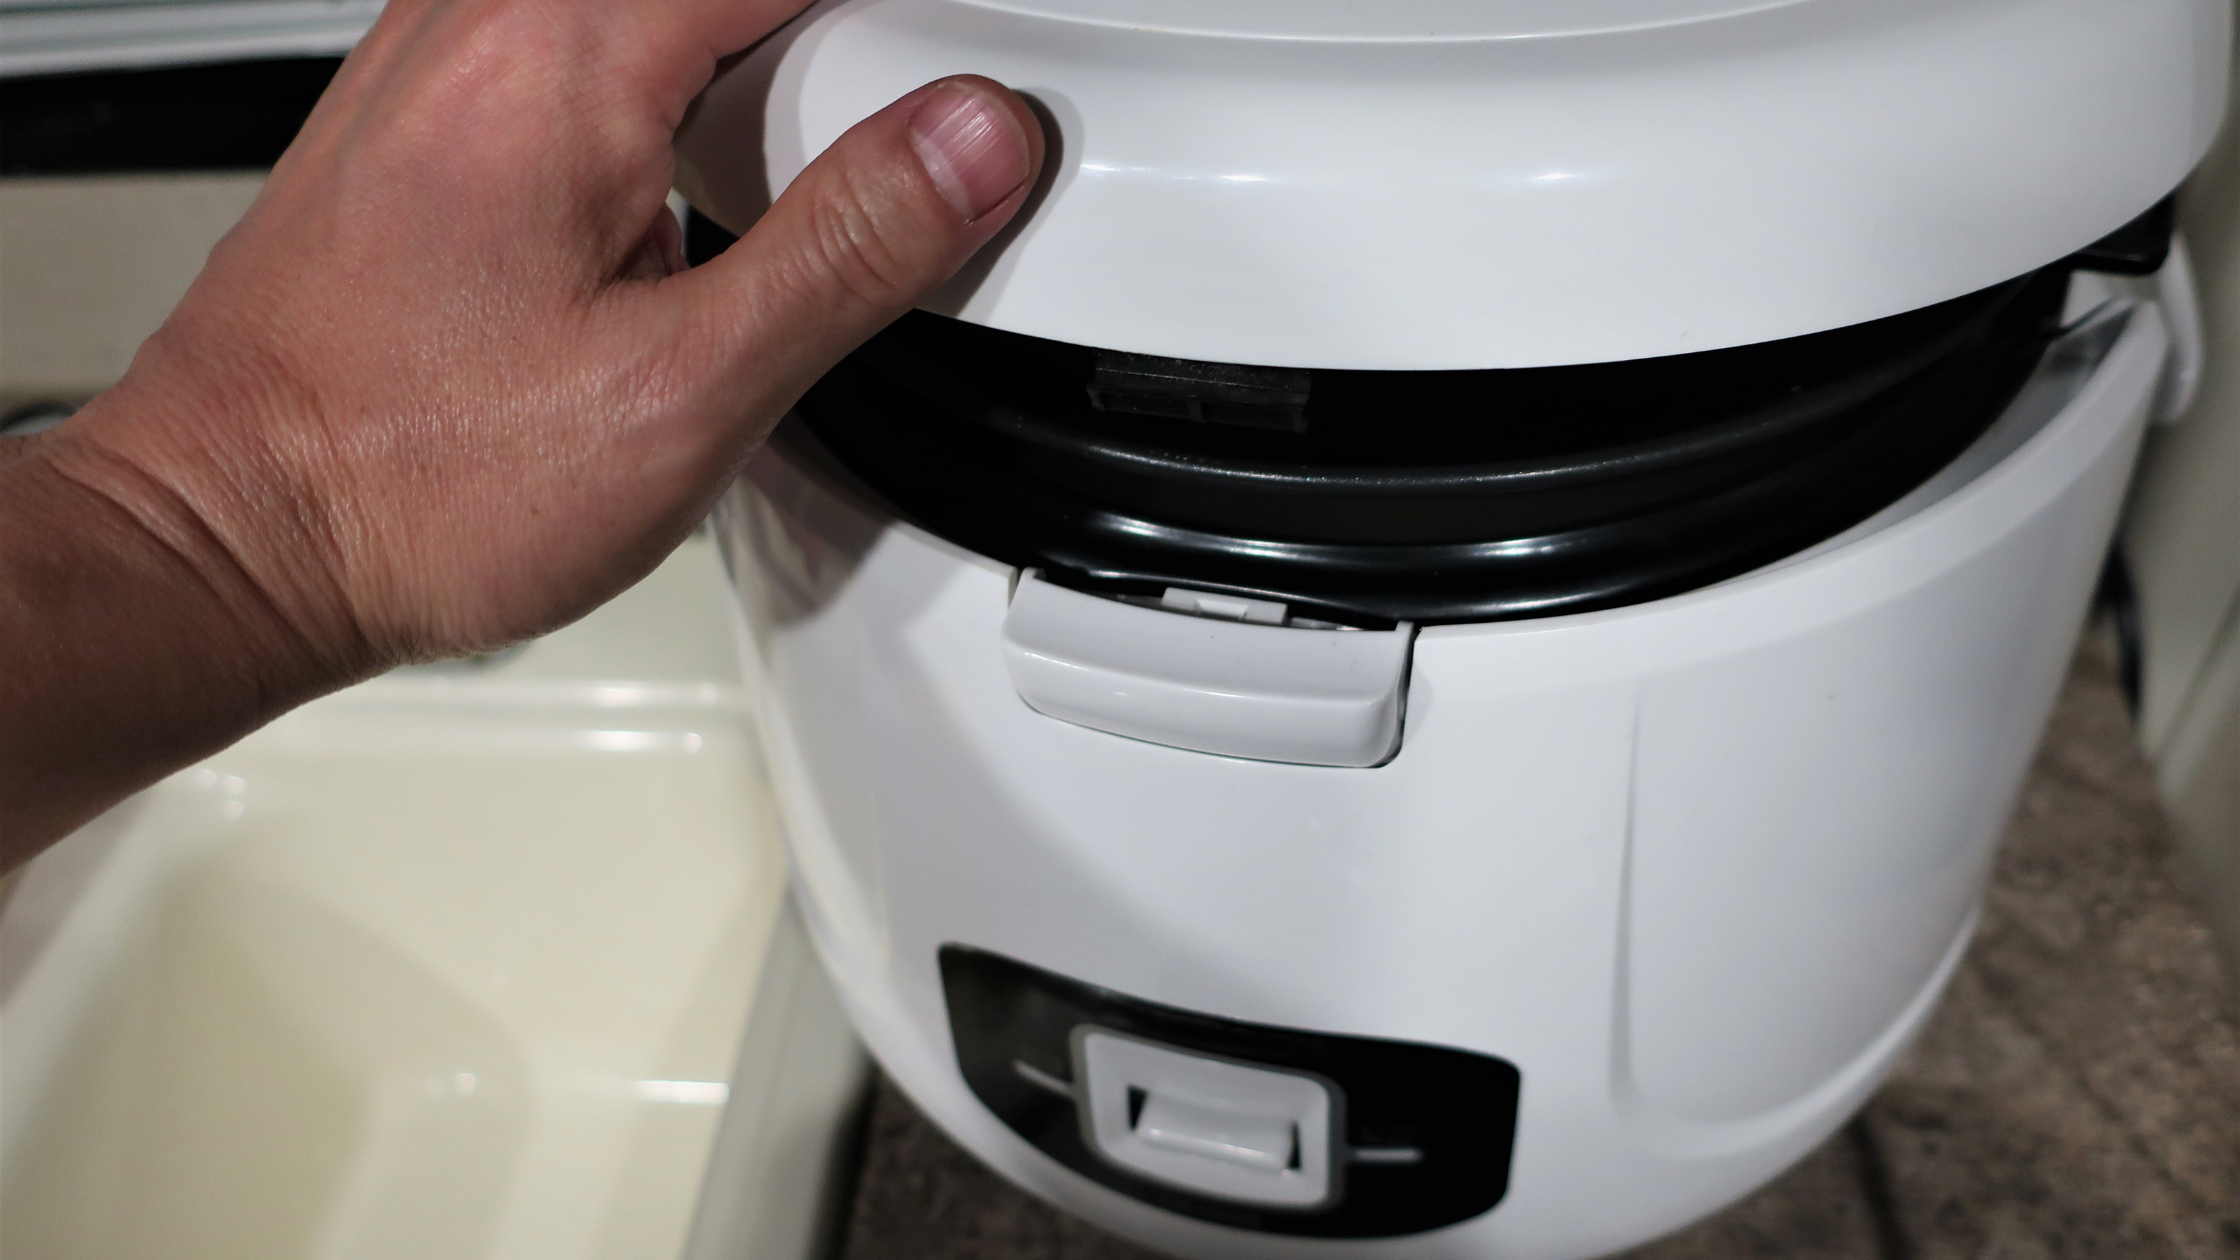
If your rice cooker has stopped working, the fuse may be to blame. Rice cookers are generally very reliable appliances, but like any other appliance, they can break down. If you’re comfortable with doing a little bit of DIY work, replacing the fuse is a relatively easy task. In this article, we will walk you through the steps of replacing a rice cooker fuse.
What a Rice Cooker Fuse and What it Does?
In any electrical appliance, there is always a risk of fire. To help prevent this, all rice cookers are equipped with a fuse. This is a small, thin piece of metal that is designed to heat up and melt if the rice cooker starts to overheat. As a result, the flow of electricity is interrupted, and the rice cooker is prevented from becoming a fire hazard. While the rice cooker fuse is a safety feature, it does have one downside. If the Rice cooker does overheat, the fuse will need to be replaced before the rice cooker can be used again. Thankfully, rice cooker fuses are relatively inexpensive and easy to find.
How to Determine if You Need to Replace Your Fuse?
If your rice cooker is no longer working, it may be time to replace the fuse. To determine if this is the issue, begin by checking the Rice Cooker Manual. Next, locate the fuse box and open it. Once you have located the correct fuse, remove it and hold it up to a light. If the wire inside is broken or burned, then it will need to be replaced. Finally, insert the new fuse into the socket and close the fuse box. Your rice cooker should now be working properly.
How to Replace Your Rice Cooker Fuse?
Rice cookers are an essential kitchen appliance for many people, especially those who enjoy eating rice as part of their regular diet. Rice cookers make it easy to cook perfectly cooked rice without having to watch the pot constantly, and they also keep rice warm after it has been cooked so that it is ready to eat when you are. However, like all appliances, rice cookers can break down from time to time and will need to be repaired or replaced. One common issue with rice cookers is a blown a fuse. If your rice cooker has stopped working and you suspect that the fuse may be the issue, don’t worry! Replacing a Rice Cooker Fuse is actually quite easy and can be done in just a few simple steps:
1) Locate the Rice Cooker Fuse: The first step is to locate the Rice Cooker Fuse. This is usually located near the power cord on the back or bottom of the Rice Cooker.
2) Remove the Old Fuse: Once you have located the fuse, use a pair of tweezers or needle-nose pliers to remove the old fuse from its slot. Be careful not to touch the metal contacts on either end of the fuse, as this could cause a shock.
3) Insert the New Fuse: Take the new Rice Cooker Fuse and insert it into the empty slot, making sure that the metal contacts on either end are touching.
4) Secure the New Fuse: Once the new fuse is in place, use a piece of tape or a small wire tie to secure it in place. This will help to prevent it from being dislodged accidentally.
5) Test the Rice Cooker: Finally, plug in your Rice Cooker and turn it on to test whether or not the new fuse has fixed the problem. If your Rice Cooker still doesn’t work, there may be another issue that needs to be addressed. But if it does work, then congrats! You’ve successfully replaced your Rice Cooker Fuse!
Tips for Keeping Your Rice Cooker in Good Condition
Rice cookers are an essential kitchen appliance for many people, especially those who enjoy eating rice on a regular basis. Rice cookers can range in price from budget-friendly to high-end, but regardless of the price, it is important to take care of your rice cooker so that it lasts for many years. Here are some tips for keeping your rice cooker in good condition:
-regularly clean the pot and lid with warm, soapy water. Be sure to rinse well and dry completely before using again.
-if your rice cooker has a nonstick coating, be careful not to scratch or damage the coating. Only use nonabrasive materials when cleaning.
-avoid using metal utensils, as they can scratch the pot or lid. Instead, use wooden or plastic utensils.
-store your rice cooker in a cool, dry place when not in use. If possible, keep it covered to protect it from dust and other debris.
Following these simple tips will help you keep your rice cooker in good condition so that you can enjoy perfectly cooked rice for many years to come.
Conclusion:
So there you have it – a step-by-step guide on how to replace your rice cooker fuse. We hope this was helpful and that you now feel confident in being able to fix your appliance without having to call for help (or worse, resorting to takeout). If you found this post useful, please share it with your friends and family – after all, knowledge is power! And be sure to check back often as we continue to add more helpful content like this. Have a great day!

