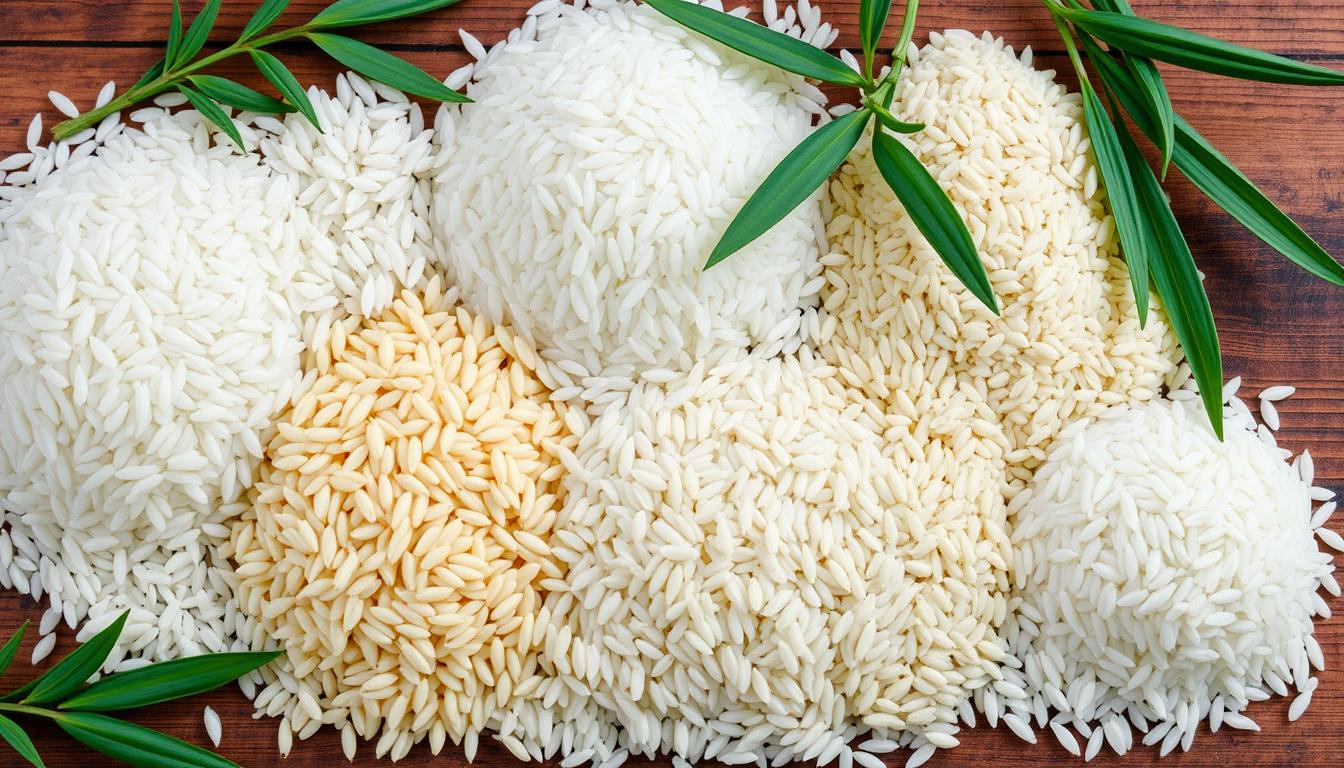
Steaming Buns in Your Rice Cooker: A Step-by-Step Guide
Steaming buns in your rice cooker is a convenient and efficient way to achieve soft, fluffy buns with minimal effort. Whether you're a beginner looking to explore new cooking techniques or an experienced chef seeking to streamline your bun-making process, this detailed guide will walk you through each step to ensure delicious results every time.
For Beginners: Getting Started
1. Prepare Your Steamer
- Lining the Steamer: Line the steaming tray or basket with parchment paper or cabbage leaves to prevent the buns from sticking.
- Water Level: Fill the rice cooker with an appropriate amount of water. Make sure the water level is below the steaming tray to avoid direct contact with the buns.
2. Preparing the Buns
- Thawing: If using frozen buns, allow them to thaw at room temperature for a smoother steaming process.
- Arrangement: Place the buns on the steaming tray, ensuring some space between each bun to allow for even steaming.
3. Steaming Process
- Setting the Timer: Start the rice cooker on the steam setting and set the timer according to the type of buns you are steaming. Typically, it takes around 15-20 minutes to steam buns thoroughly.
- Checking for Doneness: Use a toothpick or fork to pierce the buns. If it comes out clean without any dough sticking, your buns are ready.
For Intermediate Cooks: Enhancing the Flavor
1. Adding Aromatic Elements
- Herbs and Spices: Consider adding herbs like scallions or spices like sesame seeds on top of the buns before steaming for added flavor.
- Liquids for Infusion: Place a small bowl of water with a few drops of essential oils or herbs in the rice cooker to infuse the buns with aromatic flavors.
2. Experimenting with Fillings
- Sweet Fillings: Add sweet fillings like red bean paste or custard to the center of the buns before steaming for a delightful surprise.
- Savory Fillings: Explore savory options such as minced meat or vegetables to create savory steamed buns for a more substantial meal.
For Experts: Advanced Tips and Techniques
1. Customizing Steaming Conditions
- Temperature Control: Experiment with different steam settings on your rice cooker to adjust the steaming temperature and duration for optimal results.
- Multiple Steaming Sessions: If steaming a large batch of buns, consider steaming them in multiple batches to ensure even cooking.
2. Texture and Consistency
- Soft and Fluffy Buns: To achieve extra soft and fluffy buns, add a small amount of baking powder to the dough before shaping and steaming.
- Crispy Exterior: For a crispy crust, brush the buns with a mixture of egg wash or milk before steaming.
By following these detailed steps and tips, you can master the art of steaming buns in your rice cooker, creating delicious and fluffy buns that will impress your family and friends. Experiment with different flavors and fillings to customize your steamed buns to your liking and elevate your cooking skills to new heights.
Key Takeaways
- Choose a heatproof vessel and elevate for even steam circulation.
- Prepare bun fillings carefully and seal buns securely.
- Customize flavors and fillings for unique buns.
- Present buns creatively with varied shapes and garnishes.
Preparing the Steamer
Steaming Buns in a Rice Cooker: The Ultimate How-To Guide
Steaming buns in a rice cooker opens up a world of delicious possibilities, from classic pork buns to sweet bao buns. This comprehensive guide caters to a wide range of cooking experience levels, ensuring that both beginners and seasoned chefs can achieve perfect steamed buns every time. Let's dive into the details of setting up your rice cooker for steaming and mastering the art of bun perfection.
For Beginners: Steaming Basics
Preparing Your Steamer
- Choosing the Right Vessel: Opt for a heatproof bowl or plate to serve as the steaming platform in your rice cooker. This vessel will hold your buns and allow steam to circulate evenly.
- Elevation is Key: Use a stand or ring to elevate the steaming vessel. This ensures that steam reaches all parts of the buns, promoting even cooking.
- Water Level: Add about 1 inch of water to the rice cooker. This water will generate the steam needed for cooking the buns.
Steaming Process
- Stability Matters: Ensure your steamer setup is stable and secure to prevent accidents during steaming.
- Timing is Everything: Different buns require varying steaming times based on their type and dough composition. Follow specific steaming times to achieve the desired texture for each bun variety.
For Intermediate Cooks: Elevating Your Buns
Enhancing Flavor
- Infusing Aromatics: Place herbs or aromatics in the steaming vessel with the buns to infuse them with extra flavor during cooking.
- Customizing Fillings: Experiment with different fillings like savory meats or sweet custards to create unique bun variations.
Advanced Techniques
- Texture Control: Adjust steaming times to achieve your preferred bun texture, whether you like them soft and fluffy or slightly chewy.
- Creative Presentation: Explore shaping techniques and garnishes to make your steamed buns visually appealing and appetizing.
Preparing the Buns
Steaming Perfect Buns: A Step-by-Step Guide
Steaming buns to perfection is a delightful culinary adventure that can cater to a wide range of taste preferences. Whether you're a novice in the kitchen or a seasoned chef, this detailed guide will walk you through the process of preparing and steaming buns, ensuring a delectable outcome every time.
For Beginners: Getting Started
Preparing the Dough
- Dividing the Dough: Take the dough and divide it into equal portions to ensure uniform buns.
- Flattening the Dough: Flatten each portion to create space for the filling, ensuring a well-balanced bun.
Filling the Buns
- Choosing the Filling: Opt for a delicious filling like a savory pork mixture for traditional buns.
- Placing the Filling: Put the filling in the center of the flattened dough to create a flavorful core.
Sealing the Buns
- Pleating and Shaping: Seal the bun by pleating and shaping the edges to secure the filling inside.
- Ensuring Integrity: Proper sealing is essential to prevent the filling from spilling out during steaming.
For Intermediate Cooks: Elevating Your Buns
Steaming Techniques
- Arranging the Buns: Place the filled buns evenly in the steamer to ensure consistent cooking.
- Optimal Steaming Time: Follow the recommended steaming time to achieve a soft and fluffy texture for your buns.
Adding Flair
- Garnishing: Sprinkle sesame seeds or chopped green onions on top of the buns before steaming for added visual appeal.
- Glazing: Brush the buns with a mixture of honey and water before steaming for a shiny finish.
For Advanced Chefs: Fine-Tuning Your Technique
Experimenting with Fillings
- Customizing Fillings: Explore diverse fillings like chicken and mushroom or vegetarian options for a creative twist.
- Texture Play: Mix ingredients with varying textures to create a dynamic and satisfying eating experience.
Presentation Tips
- Bun Shapes: Experiment with different shapes like baozi or mantou to add variety to your steamed bun repertoire.
- Color Contrast: Pair light-colored buns with vibrant fillings for an enticing visual contrast on the plate.
Placing in Rice Cooker
Steaming Buns in a Rice Cooker: A Step-by-Step Guide
Steaming buns in a rice cooker is a convenient and efficient way to achieve perfectly steamed and fluffy buns. Whether you're a novice in the kitchen or a seasoned cook, this detailed guide will walk you through the process, ensuring your buns turn out just right every time.
For Beginners: Getting Started
Preparing Your Buns
- Thawing: If you're using frozen buns, allow them to thaw partially before steaming. This can help ensure even cooking.
- Lining the Steamer Basket: Consider lining the steamer basket with parchment paper or cabbage leaves to prevent the buns from sticking.
Setting Up Your Rice Cooker
- Water Level: Add water to the rice cooker, ensuring it's below the level of the steamer basket. Too much water can lead to soggy buns.
- Using the Steamer: Place the steamer basket inside the rice cooker. If your rice cooker has multiple layers, stack them according to the manufacturer's instructions.
Steaming Process
- Cooking Time: Start the rice cooker on a steam setting. The cooking time can vary based on the type and size of buns, but a general guideline is around 10-15 minutes for fully cooked buns.
- Checking Doneness: To check if the buns are ready, insert a toothpick into the center of a bun. If it comes out clean, the buns are done.
For Intermediate Cooks: Elevating Your Buns
Adding Flavors
- Sauce Infusion: Consider placing a small bowl of water with aromatics like ginger or garlic in the rice cooker while steaming. This can infuse the buns with subtle flavors.
- Glazing: Brushing the buns with a mixture of honey or sugar water before steaming can add a touch of sweetness and shine to the finished buns.
Experimenting with Fillings
- Sweet Fillings: Try filling your buns with sweet options like red bean paste or custard for a delightful treat.
- Savory Fillings: Explore savory fillings like minced meat or vegetables for a more substantial meal option.
For Advanced Cooks: Mastering the Art
Perfecting Texture
- Double Steaming: For extra soft and moist buns, consider steaming them twice. Steam the buns initially, then remove them, rest, and steam again for a few more minutes.
- Adjusting Steam Time: Fine-tune the steaming time based on the texture you prefer. Longer steaming can result in a softer texture, while shorter steaming yields a firmer bun.
Presentation Tips
- Garnishing: Sprinkle sesame seeds or chopped green onions on top of the buns before serving for a visually appealing touch.
- Shaping: Experiment with different bun shapes like twists or knots to add visual interest to your steamed buns.
Whether you're a beginner looking to master the basics or an expert aiming to perfect your steamed buns, this guide provides you with the tools and tips to elevate your cooking skills and create delicious buns every time.
Steaming the Buns
Steaming Buns to Perfection: A Step-by-Step Guide
Steaming buns is a delightful culinary art that requires precision and attention to detail. Whether you're a novice in the kitchen or a seasoned chef, mastering the steaming process is essential for creating fluffy and delicious buns every time. This comprehensive guide will walk you through the steps involved in steaming buns, ensuring your success in this culinary endeavor.
For Beginners: Getting Started
1. Prepping the Buns
- Thawing: If using frozen buns, allow them to thaw at room temperature for easier handling.
- Arranging in the Steamer: Place the buns in the steamer basket, ensuring they're evenly spaced for uniform steaming.
2. Setting Up the Steamer
- Water Level: Fill the bottom of the steamer with water, ensuring it doesn't touch the buns in the basket.
- Boiling Water: Bring the water to a gentle boil before placing the steamer basket with the buns inside.
3. Steaming Process
- Steaming Time: Steam the buns for approximately 10-15 minutes with the lid closed. This duration allows the buns to cook through and become soft and fluffy.
- Checking for Doneness: After the steaming time is up, lightly press on a bun to ensure it feels soft and springy, indicating it's fully cooked.
For Intermediate Cooks: Elevating the Flavors
1. Adding Flair to Your Buns
- Glazing: Brush the steamed buns with a mixture of honey or sugar water for a glossy finish.
- Serving Suggestions: Pair the buns with savory fillings like BBQ pork or sweet fillings like custard for a delightful treat.
2. Experimenting with Variations
- Flavored Buns: Explore different flavors by adding ingredients like matcha powder or taro to the bun dough for unique and tasty variations.
- Bun Shapes: Get creative with shaping the buns into intricate designs or animals for a fun and visually appealing presentation.
For Advanced Chefs: Fine-Tuning Your Technique
1. Temperature Control
- Consistent Heat: Monitor the steam levels throughout the steaming process to ensure consistent and even cooking.
- Adjusting Timing: Depending on the size and thickness of the buns, you may need to adjust the steaming time for perfect results.
2. Texture and Moisture
- Texture Check: Aim for a soft and airy texture in your buns by adjusting the steaming time and heat intensity.
- Moisture Retention: Cover the steamed buns with a clean kitchen towel after cooking to retain moisture and keep them soft.
Checking for Doneness
Checking for Doneness: Ensuring Perfectly Cooked Homemade Steamed Buns
Checking for doneness is a crucial step to guarantee that your homemade steamed buns are cooked to perfection. By assessing their size, texture, and warmth after steaming, you can ensure a delightful culinary experience. Let's dive into the details to help you determine when your steamed buns are ready to be served.
For Beginners: Getting Started
Size Assessment:
- Expanded Size: Check if the buns have visibly expanded in size after steaming. This indicates that the dough has cooked through and the buns are ready.
- Uniformity: Ensure that all buns have expanded uniformly to guarantee even cooking.
Texture Check:
- Smooth and Puffy: Gently press on the buns to feel for a smooth and puffy consistency. This texture signifies that the buns are cooked to perfection.
- Light and Fluffy: When you touch the bun, a light and fluffy texture should indicate that it's ready to be enjoyed.
Warmth Sensing:
- Well-Heated Interior: Hold one of the buns in your hand to sense if it's warm throughout. This confirms that the buns have a well-heated interior and are fully cooked.
For Intermediate Cooks: Fine-Tuning the Process
Toothpick Test:
- Insertion: To confirm the buns' doneness, insert a toothpick into the center of a bun. If it comes out clean, it indicates that the buns are fully cooked.
- No Dough Residue: Ensure that there's no dough residue on the toothpick when you remove it, signifying thorough cooking.
Color Observation:
- Golden Brown: A slight golden brown color on the surface of the buns is a visual indicator of proper cooking.
- Avoiding Pale Spots: Check for any pale or undercooked spots on the buns and steam them a bit longer if needed.
Steam Consistency:
- Steam Release: Once the buns are cooked, observe the steam release from the steamer. Reduced steam or no condensation on the lid indicates that the buns are ready.
Conclusion
My Experience with Steaming Buns in a Rice Cooker
As a food enthusiast and avid experimenter in the kitchen, I've always been on the lookout for creative ways to elevate my cooking. One method that has truly impressed me is steaming buns in a rice cooker. Not only is it a convenient and efficient way to whip up a batch of fluffy bao buns, but it's also a game-changer when it comes to meal prepping and feeding a hungry crowd. Let me share with you some of my personal insights and experiences that have made steaming buns in a rice cooker a staple in my kitchen.
The Joy of Homemade Buns
There's something incredibly satisfying about biting into a freshly steamed bun that you made from scratch. The aroma that fills the kitchen as the buns cook is simply irresistible. I remember the first time I tried steaming buns in my rice cooker – the anticipation of that first bite was almost as exciting as the process of making them. The soft, pillowy texture of the buns was a revelation, and I couldn't believe I'd made them myself. From that moment on, I was hooked.
Feeding a Crowd with Ease
One of the biggest advantages of using a rice cooker to steam buns is its capacity. Most rice cookers can accommodate up to 12 buns at once, which makes it the perfect tool for feeding a group of friends or meal prepping for the week ahead. I love hosting gatherings at my place, and being able to effortlessly steam a large batch of buns in my rice cooker has been a game-changer. Plus, the hands-off steaming process allows me to focus on other dishes or enjoy the company of my guests without constantly monitoring the buns.
Flavorful Variations and Experimentation
Steaming buns in a rice cooker opens up a world of possibilities when it comes to flavor variations. Whether you prefer classic pork buns, vegetarian fillings, or sweet dessert buns, the rice cooker can handle them all. I've experimented with different fillings and flavors, from traditional char siu to fusion combinations like BBQ chicken with pineapple. The versatility of steamed buns means you can get creative and tailor them to suit your preferences or surprise your guests with unexpected flavor profiles.
Tips and Tricks for Perfect Buns Every Time
Through trial and error, I've picked up a few tips and tricks that have helped me achieve consistently perfect buns when steaming them in a rice cooker. Making sure the buns are evenly spaced in the steaming tray, adding a splash of water to create steam, and checking for doneness by inserting a toothpick are just a few of the techniques I've learned along the way. These small adjustments have made a big difference in the final texture and flavor of the buns, ensuring a satisfying outcome every time.
In conclusion, steaming buns in a rice cooker has become a beloved cooking ritual in my kitchen. The convenience, capacity, and versatility of the rice cooker make it an indispensable tool for creating delicious homemade buns that never fail to impress. Whether you're a seasoned cook looking to try something new or a beginner eager to explore the world of steamed buns, I highly recommend giving this method a whirl. It's a culinary adventure that's sure to delight your taste buds and leave you craving more.